Chuẩn bị
- Cloud Server Windows 2012 hoặc 2016
- Cài đặt .Net Framework 4.5.2 – Download
- Bản cài đặt MySQL 5.7 – Download
Cài đặt
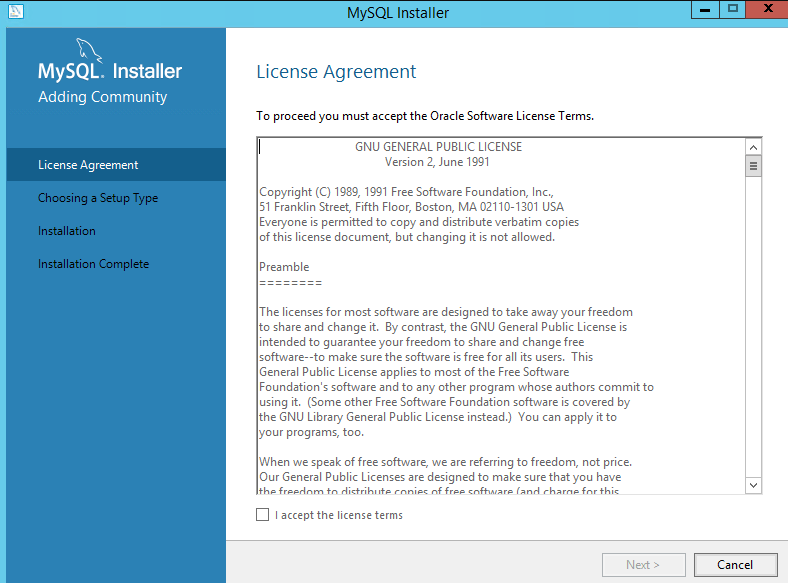
Sau khi download chúng ta được file có tên ” mysql-installer-community-5.7.21.0 “. Chạy file này để cài đặt
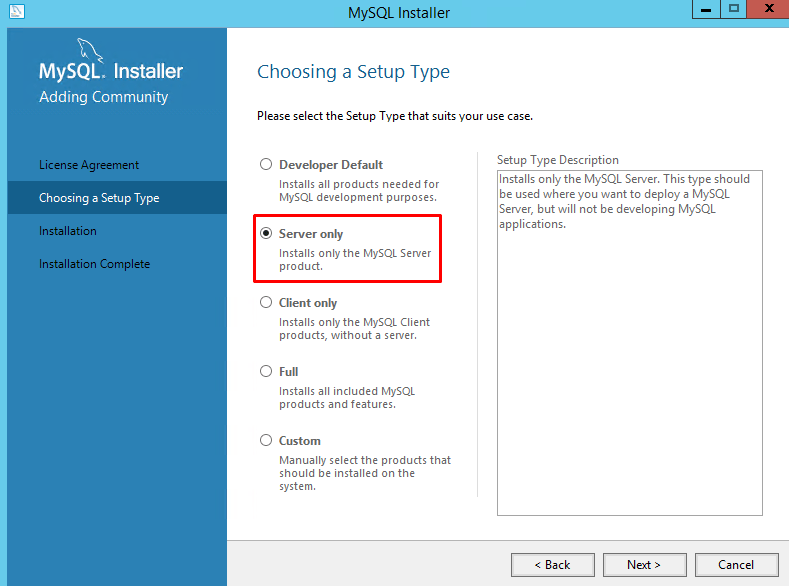
Bộ cài đặt cho phép cài đặt với nhiều tùy chọn tùy theo nhu cầu sử dụng, ở đây mình chỉ cài đặt MySQL server và MySQL Workbench để quản lý
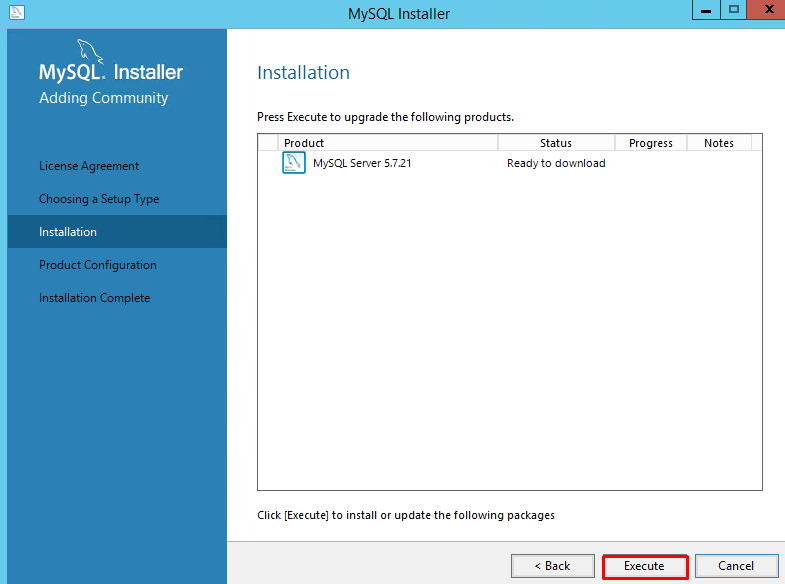
Chọn Execute để bắt đầu quá trình download và cài đặt
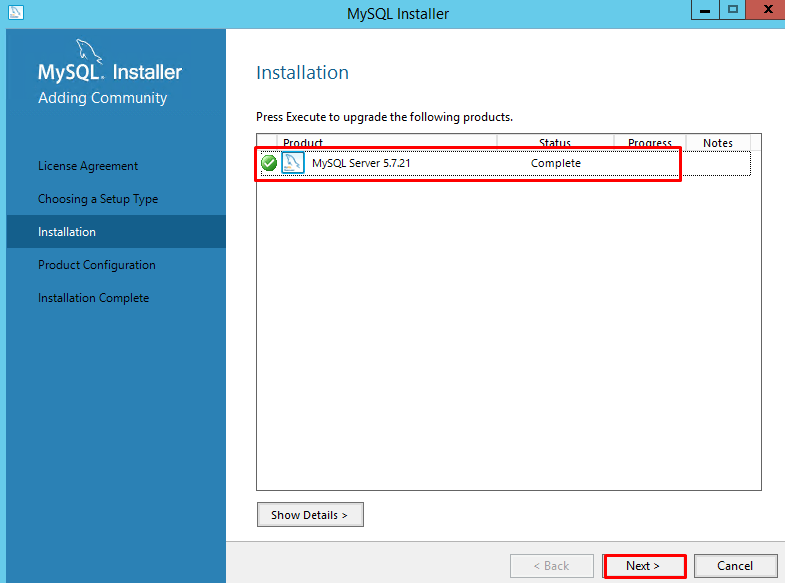
Chọn Next để đi tới bước cấu hình MySQL Server
Ở đây mình mình chỉ sử dụng Standalone MySQL Server

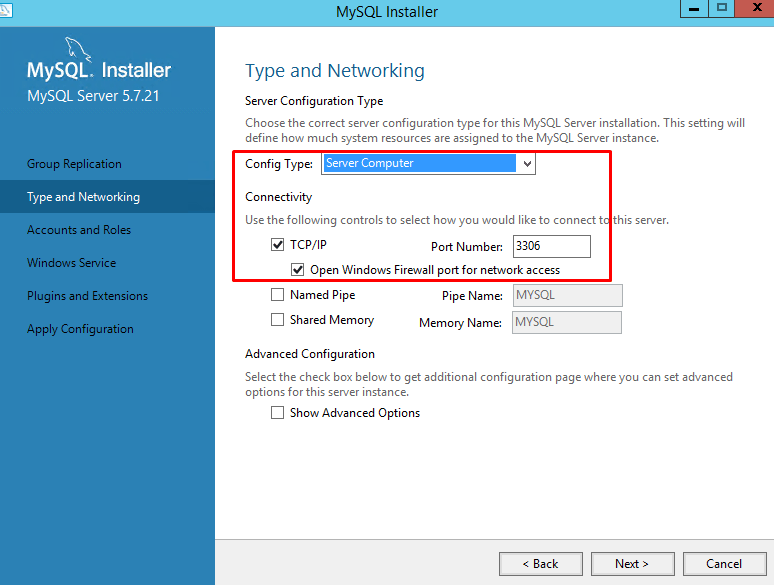
Chọn Config Type là “Server Computer”, thông số port và firewall bạn để mặc định hoặc thay đổi nếu muốn kết nối đến MySQL thông qua port khác
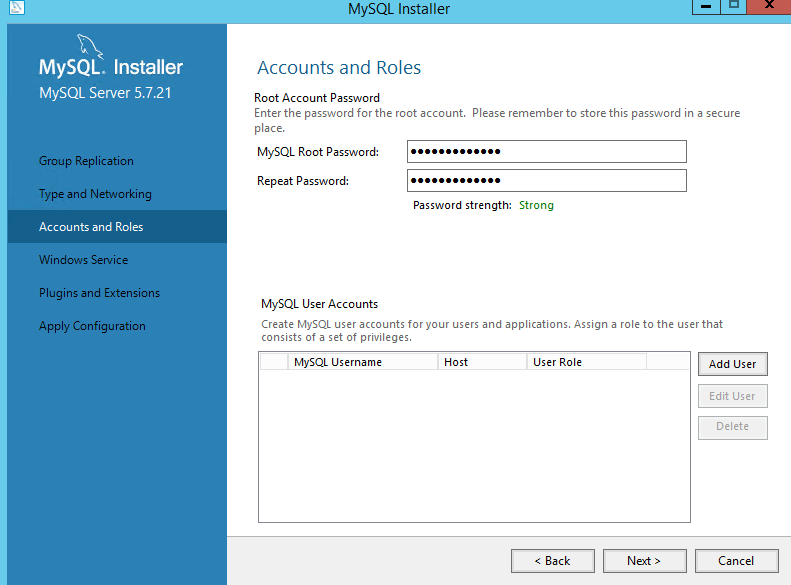
Đặt password cho user root, hoặc bạn có thể thêm những user khác nếu cần
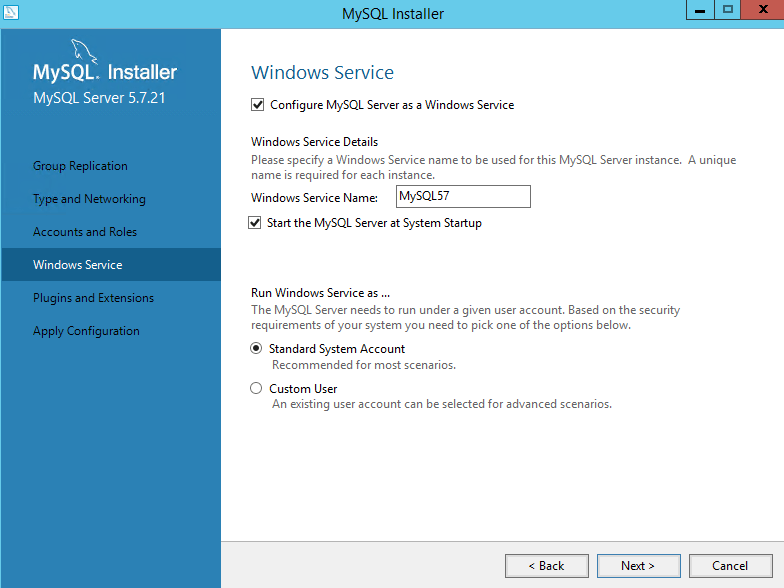
Cấu hình Windows Service, nếu không muôn thay đổi gì bạn có thể để mặc định
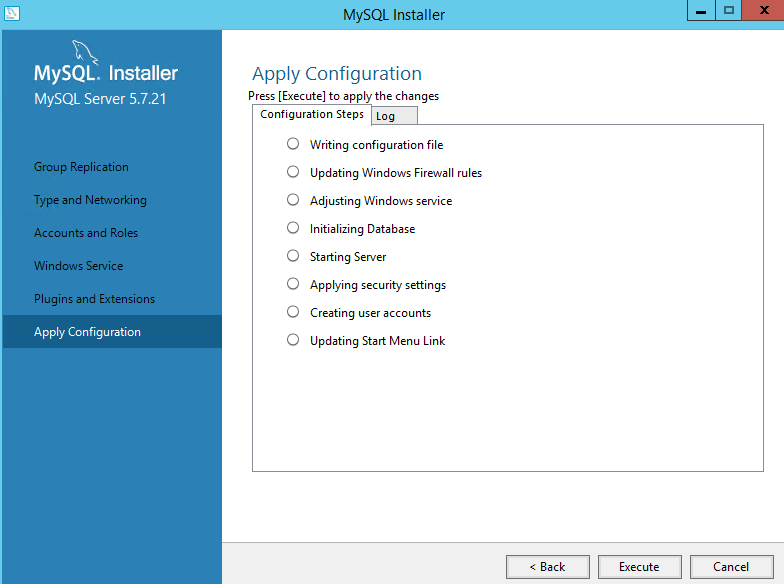
Chọn Execute để thực thi các cấu hình bên trên
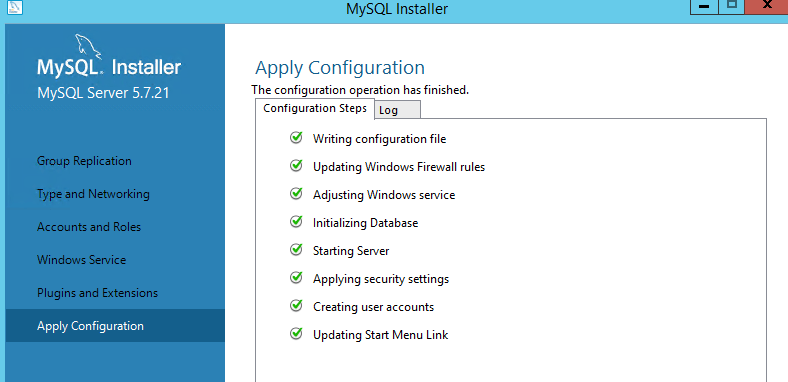
Hoàn tất cài đặt MySQL Server
Cài đăt MySQL Workbench
Để quản lý MySQL Server, bạn có thể cài đặt MySQL Workbench
Download MySQL Workbench: https://downloads.mysql.com/archives/workbench/
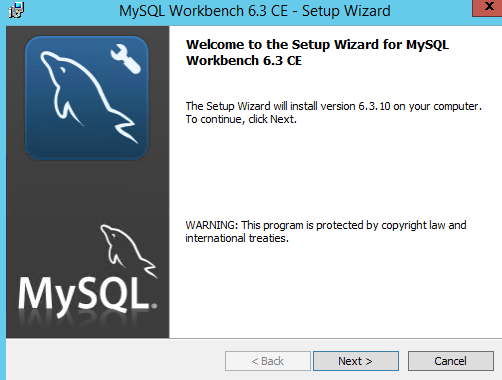
Sau khi download khởi chạy file cài đặt
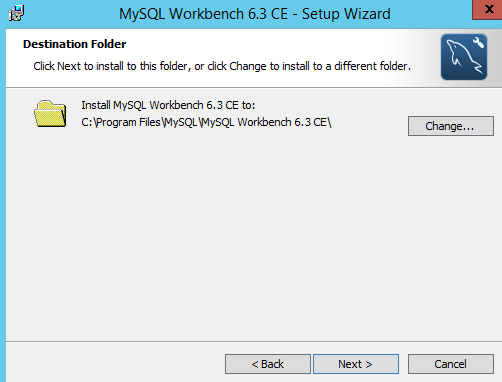
Chọn đường dẫn cài đặt
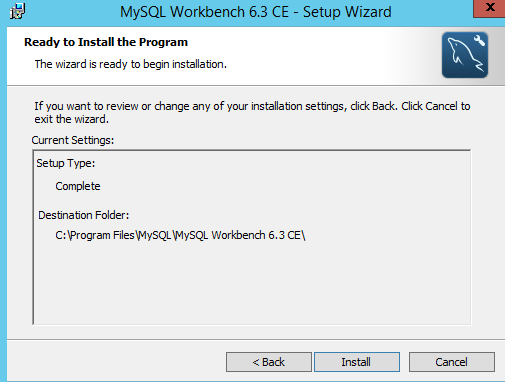
Chọn Install để bắt đầu cài đặt
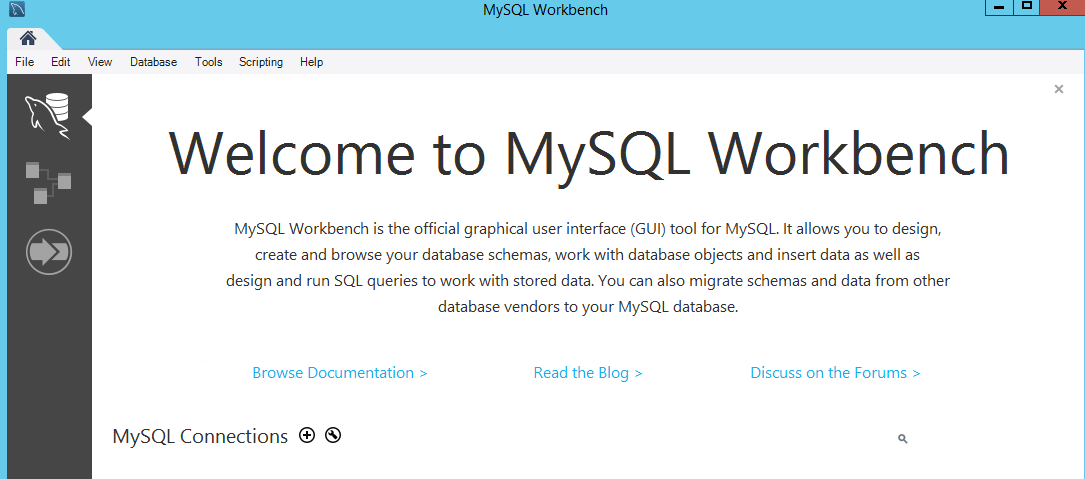
Sau khi hoàn tất cài đặt, chạy MySQL Workbench
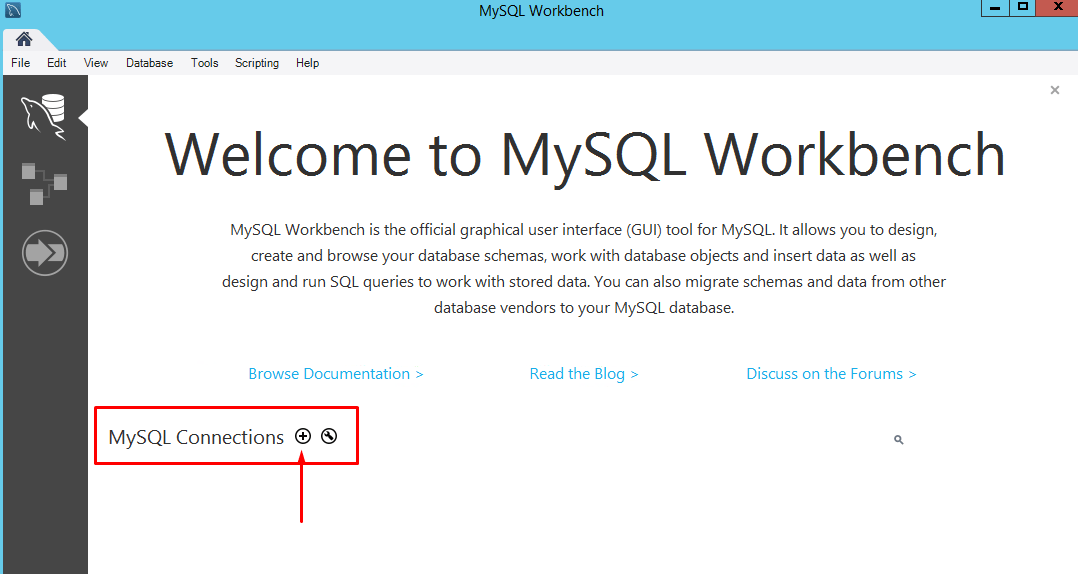
Thêm nhanh một kết nối mới
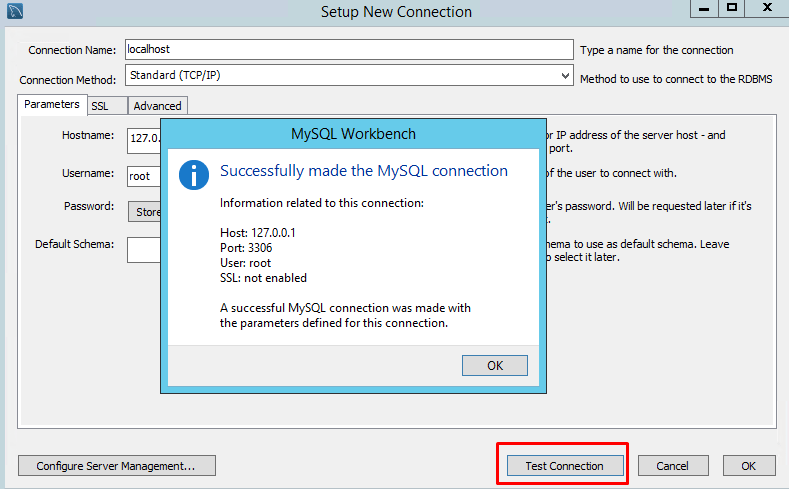
Nhập thông tin kết nối đến MySQL Server, ở đây máy kết nối đến cũng chính là máy MySQL Server nên mình sẽ nhập IP localhost.
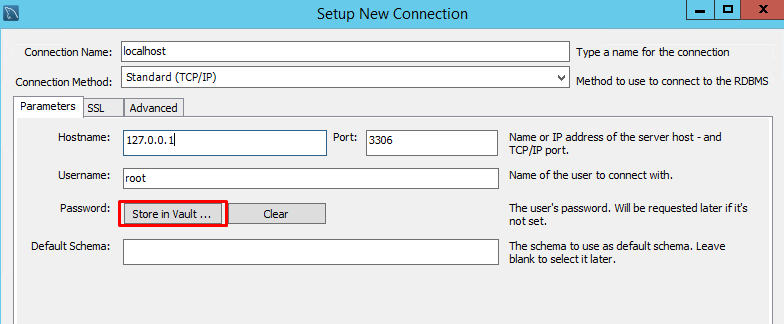
Để nhập mật khẩu cho user root, bạn chọn Store in Vault..
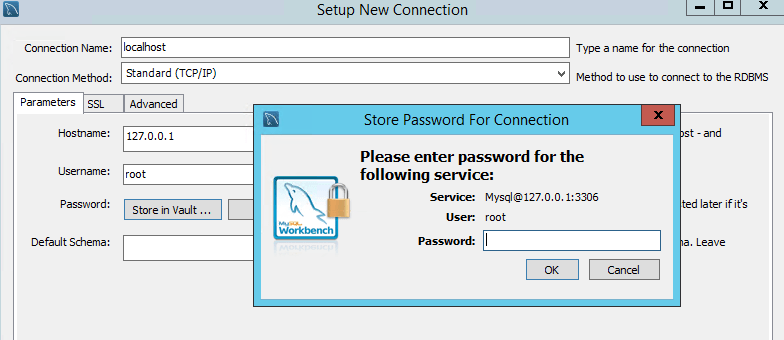
Nhập password và chọn OK, chọn Test Connection để kiểm tra kết nối
Chọn kết nối vừa khởi tạo, chọn Connect

Sau khi kết nối thành công, bạn cps thể kiểm tra thông tin của MySQL Server tại tab MANAGEMENT -> Server Status

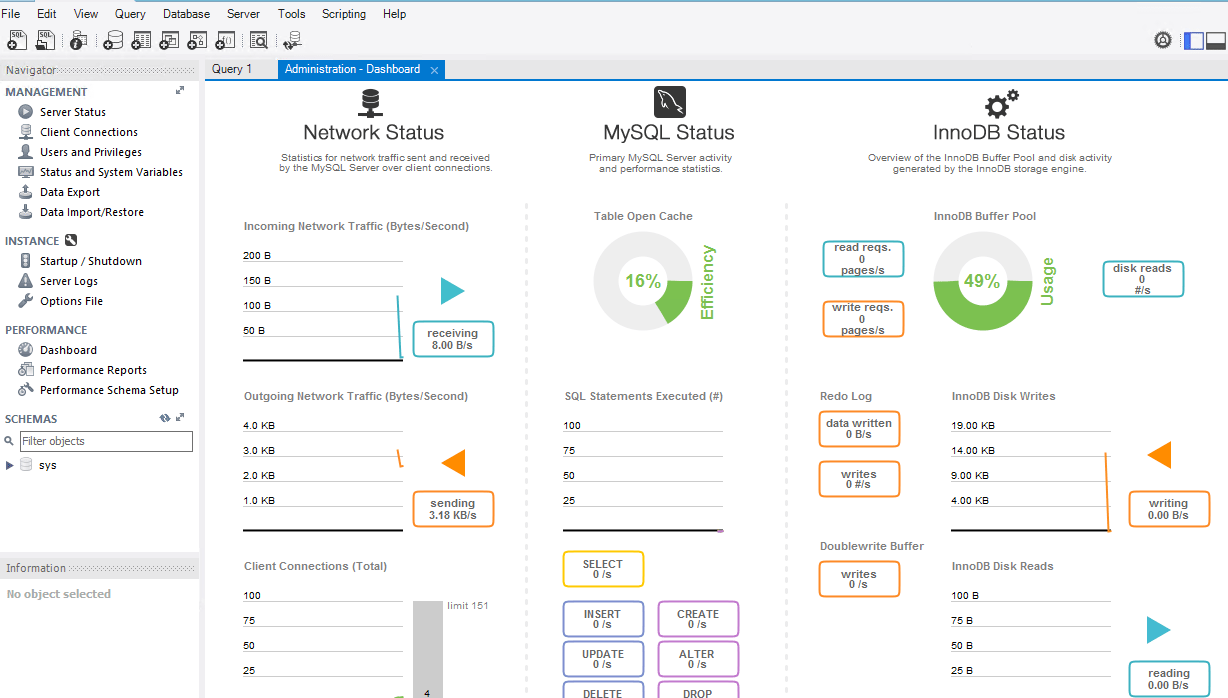
Theo dõi hiệu năng của MySQL Server tại tab PERFORMANCE -> Dashboard
Hướng dẫn sử dụng MySQL Workbench bạn có thể tham khảo từ trang chủ
Như vậy chúng ta đã hoàn tất cài đặt MySQL trên Windows Server và MySQL Workbench trên Windows Server. Chúc bạn thành công.
DỊCH VỤ CLOUD SERVER TỐC ĐỘ XỬ LÝ VƯỢT TRỘI